Simple Steps on How to Tarp a Flat Roof | 2025 Guide
When a big storm hits, it leaves significant damage in its wake. This impacts homes and businesses alike. One crucial step to protect your property is learning how to tarp a flat roof. This simple yet effective method can fully safeguard your roofing system and structure. It protects your home until a professional roofing company can perform the necessary repairs. In this guide, we’ll explore everything you need to know about how to tarp a flat roof. Learn about different tarping methods, common mistakes to avoid, and how to tarp a flat roof without nails. You’ll also get tips from the best roofing company in Texas. Don’t wait until it’s too late; protect your property today!
Tarping a Flat Roof – An Overview
After a severe storm, roofing companies face a surge in repair requests, leading to extended wait times for homeowners. The National Roofing Contractors Association states that 40% of roof repairs are storm-related. Moreover, the Insurance Information Institute reported over $20 billion in insured losses in 2022, which shows the critical need for temporary protection measures like tarping. Installing a roof tarp can prevent additional rain, wind, or debris damage. An adequately installed tarp is a temporary shield that keeps your home or business dry and minimizes structural issues. Can you tarp a flat roof effectively and securely? Yes, and this guide will show you how.

Why Tarp a Flat Roof?
Tarping a flat roof is an innovative, temporary solution to prevent further damage while waiting for permanent repairs from the best roofing company in Texas. There are several compelling reasons to tarp a flat roof:
Immediate Protection
Tarping provides an immediate barrier against water infiltration, preventing further damage to your property’s interior. This quick action is crucial in Texas, where severe weather can strike suddenly. According to the National Weather Service, Texas experiences an average of 132 tornadoes yearly, emphasizing the need for prompt protection.
Cost-Effective Solution
Tarping is a cost-effective measure compared to extensive roof repairs or replacements. The average cost of a total roof replacement can range from $5,000 to $10,000. Meanwhile, tarping materials and installation typically cost under $1,000. This significant cost difference makes tarping an attractive option for temporary damage control.
Damage Mitigation
By promptly tarping a flat roof, you can minimize the damage’s extent and prolong your roof’s life. Statistics show that water damage can increase repair costs by up to 50% if not addressed quickly. Therefore, tarping your roof can save substantial repair expenses.
Insurance Requirement
Many insurance policies require homeowners to take reasonable steps to mitigate damage in the event of a covered peril, such as a storm or fire. Tarping your roof demonstrates proactive efforts to protect your property, which can be crucial for claims processing. A study by the Insurance Information Institute found that 60% of homeowners’ insurance claims are due to weather-related damage.
Peace of Mind
Knowing that your roof is temporarily safeguarded can provide peace of mind until permanent repairs can be completed. This is particularly important for residents in storm-prone areas like Texas, where having a quick and effective temporary solution is essential for property protection. We suggest contacting the largest roofing companies in the US to get the best roofing services.
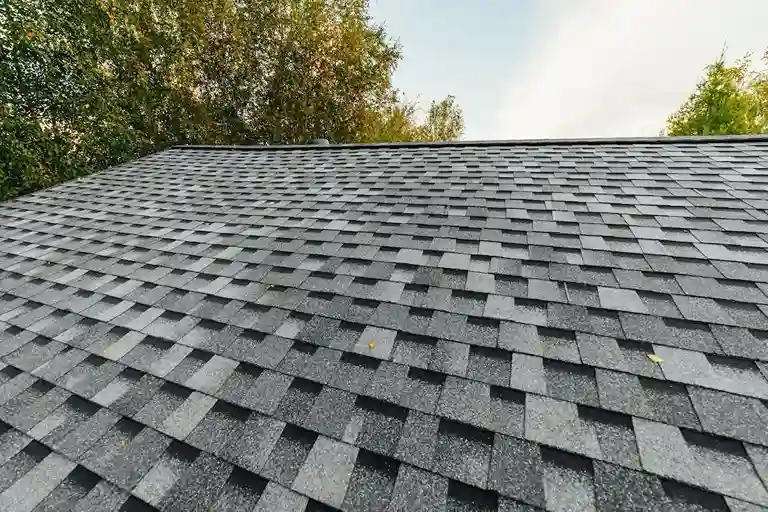
Recognizing Flat Roof Damage
Key Indicators of Flat Roof Damage
Before we head on to explore the steps of how to tarp a flat roof, let’s have an overview of the key indicators of flat roof damage. To effectively address the issue of tarping a flat roof, it’s crucial to identify the signs of damage early. Here are some common indicators that your flat roof may need attention:
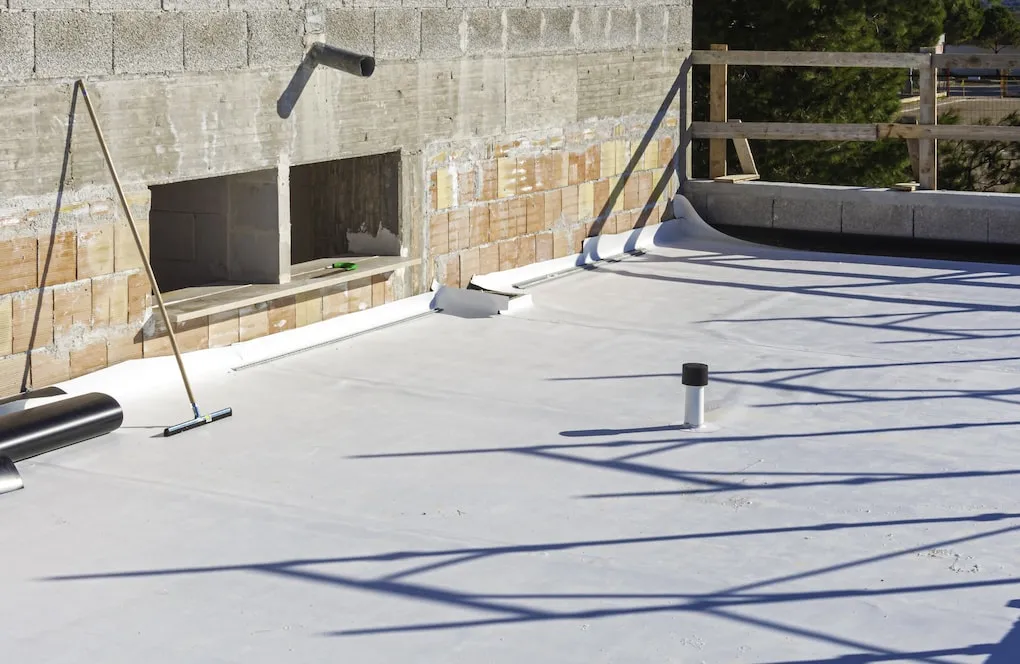
Ponding Water
Ponding water is a frequent issue with flat roofs, where water accumulates in certain areas instead of draining properly. According to the NRCA, ponding water can lead to significant roof damage, including leaks and structural issues, if not addressed promptly. In fact, they even report that prolonged water pooling can reduce the lifespan of a flat roof by up to 50%.
Tears or Punctures
Tears or punctures in the roofing membrane can let water seep, compromising the roof’s integrity. A Roofing Contractors Association (RCA) study found that even minor tears can escalate into severe leaks if left untreated. Regular inspections are essential to catch these issues early and prevent costly damage.
Cracks or Blisters
Cracks and blisters on a flat roof are often caused by exposure to UV rays, extreme temperatures, or poor installation practices. These defects allow moisture to penetrate the roof, leading to significant damage. As per industry data, up to 40% of flat roof replacements are due to neglecting these early warning signs.
Mold or Mildew Growth
Mold or mildew growth beneath the roof’s surface indicates that moisture is trapped and not evaporating correctly. The presence of mold and mildew damages the roof and poses health risks. The Environmental Protection Agency (EPA) states mold growth should be addressed immediately to prevent indoor air quality issues and structural damage.
Sagging or Uneven Areas
Sagging or uneven areas on a flat roof suggest underlying structural issues that need immediate attention. These problems can indicate that the roof’s support system is compromised, potentially leading to severe damage. The NRCA emphasizes that addressing these signs promptly can save up to 30% on repair costs compared to delayed interventions.
By recognizing these signs of damage and understanding how to tarp a flat roof effectively, you can take proactive steps to protect your home. When permanent repairs are needed, rely on experienced roofing service USA professionals to restore your roof’s integrity and ensure its longevity.
Essential Steps to Tarp Your Flat Roof After Damage
Now, let’s head to steps on how to tarp a flat roof with ease:
Step 1: Assess the Roof Damage
Before starting any repairs, assessing the extent of the damage on your roof is vital. Follow these essential safety guidelines:
- Wear protective gear like sturdy boots, a safety harness, goggles, and gloves
- Avoid climbing on the roof during windy or rainy conditions
- Use a stable ladder to inspect your roof, and avoid steep or slippery areas
- Have a friend or family member assist you
Step 2: Document the Damage for Insurance
If a storm has damaged your roof, your homeowner’s insurance may cover the cost of repairs or replacement. To take advantage of this, document the damage by taking detailed photos. This will give your insurance company the necessary evidence of the roof’s condition before repairs.
Step 3: Measure the Damaged Area
Accurately measure the damaged section of your roof to ensure you purchase the correct size tarp. Use a tape measure to determine the dimensions of the area. The tarp should cover the damaged spot plus an additional four feet of overhang from the roof’s peak. Make sure to record these measurements to get an appropriately sized tarp.
Step 4: Properly Position the Tarp
Once you have the right tarp, position it over the damaged area. This step requires at least two people and should be done in dry, mild weather. Here’s how to proceed:
- Unwrap the tarp and lay it over the damaged section
- Use sandbags temporarily to hold the tarp in place
- For a more secure solution, create anchors using 2×4 boards
- Roll a 2×4 board into the peak end of the tarp and nail it to create a weighted anchor
- Lay the tarp flat across the roof
- Position several 2×4 boards along the edges of the tarp to keep it taut
- Place the boards at a slight angle to ensure water runoff
- For more minor leaks, you can nail the tarp directly over the damaged area without using wooden boards
Step 5: Secure the Tarp Effectively
With the tarp in place, secure it using nails. If using wooden boards, drive long roofing nails through the boards into the shingles. If nailing directly, secure the tarp through the shingles. While you must replace the shingles later, this method is much cheaper than dealing extensive water damage inside your home.
Expert’s Tip: Some hardware stores offer adhesive tarps that don’t require nails. However, these are less effective and require shingle replacement due to adhesive damage. We suggest you choose between Owens Corning vs GAF shingles to get quality material.
Safety First: Hire a Professional Roofer
Regarding reliable and professional roofing services, Frog Roofing stands out as the best roofing company in Texas. With over 15 years of experience, we have built a reputation for excellence, offering top-tier residential and commercial roofing services. Our team of experts is well-versed in handling everything from how to tarp a flat roof to complete roof replacements and repairs. Known for a 5-star Google rating and over 800 satisfied clients, we are dedicated to delivering high-quality workmanship and exceptional customer service. Whether you need emergency repairs or a routine inspection, Frog Roofing is your go-to roofing service provider. Are you looking for a new roof installation? We at Frog Roofing are offering $500 off on new roofs. To take advantage of this service, simply fill out the form. To learn more about services, contact us right away!
Phone: 945-227-8333
Email: sales@frogroofing.com
Website: https://frogroofing.com/
Frequently Asked Questions (FAQs)
1. How do I measure my roof for tarping?
To measure for tarping, use a tape measure to determine the damaged area’s dimensions, adding an additional four feet of overhang from the roof’s peak for proper coverage.
2. Can you tarp a flat roof in windy conditions?
No, to ensure safety and effectiveness, always avoid tarping a flat roof during windy or rainy conditions. Wait for calm, dry weather to proceed with tarping.
3. What tools are needed to tarp a flat roof?
Essential tools include a sturdy ladder, safety gear (boots, harness, gloves, goggles), a high-quality tarp, 2×4 boards, roofing nails, a hammer, and sandbags for temporary securing.
4. How do I secure the tarp on a flat roof?
To secure the tarp, roll a 2×4 board into its edge, nail it to create an anchor, and then position and nail the tarp through the shingles or use additional 2×4 boards to hold it in place.